
But it's just so dang adorable. Even if you don't have a kitchen made for ants, these tips will work in any kitchen!

I got these gloves from Schnuck's (yes, that is a real name of a real grocery store for all my southern friends out there. Where is the Kroger?? Where is the Publix??), and they are so cute, inexpensive, and functional! I always buy Scotch-brite heavy duty sponges because they have a soft side and a scrubby side (using technical terms here), and they won't break the bank like some of the more decorated sponges. I also exclusively buy Dawn foaming dish soap after using it and loving it at my parent's house. It lasts for freaking ever, and who doesn't love a foamy soap?? It's the simple things, guys.
For anyone who doesn't have a dishwasher or who has lots of dishware that requires hand washing, I would highly recommend a memory foam drying mat. They're washable, better looking than laying out a hand towel, and they absorb enough water that you never have to worry about it leaking through. My mom got me one as a gift for my first apartment, and I used it sooo much.
Unfortunately, I don't have enough counter space to lay it out here, at least not every day, so I invested in an in-sink dish drying rack from Bath and Body Works. In my opinion, they had a better selection than Target did. And it was nine bucks, people. NINE. And it has a nice little utensil holder and plenty of room for plates, pots, pans, and glasses. Oh yes.
.JPG)

TIP #3 PART 2: ...UNLESS YOU HAVE RIDICULOUS AMOUNTS OF ANY ONE THING. In my case, that would be tea.
.JPG)
This cabinet is not nearly as pretty as the other one, but I know my tea collection well enough to not get stressed out by this madness. I also wanted it all in one place for ease of use. So as we see, there are exceptions to every rule. Anyone else a tea addict?
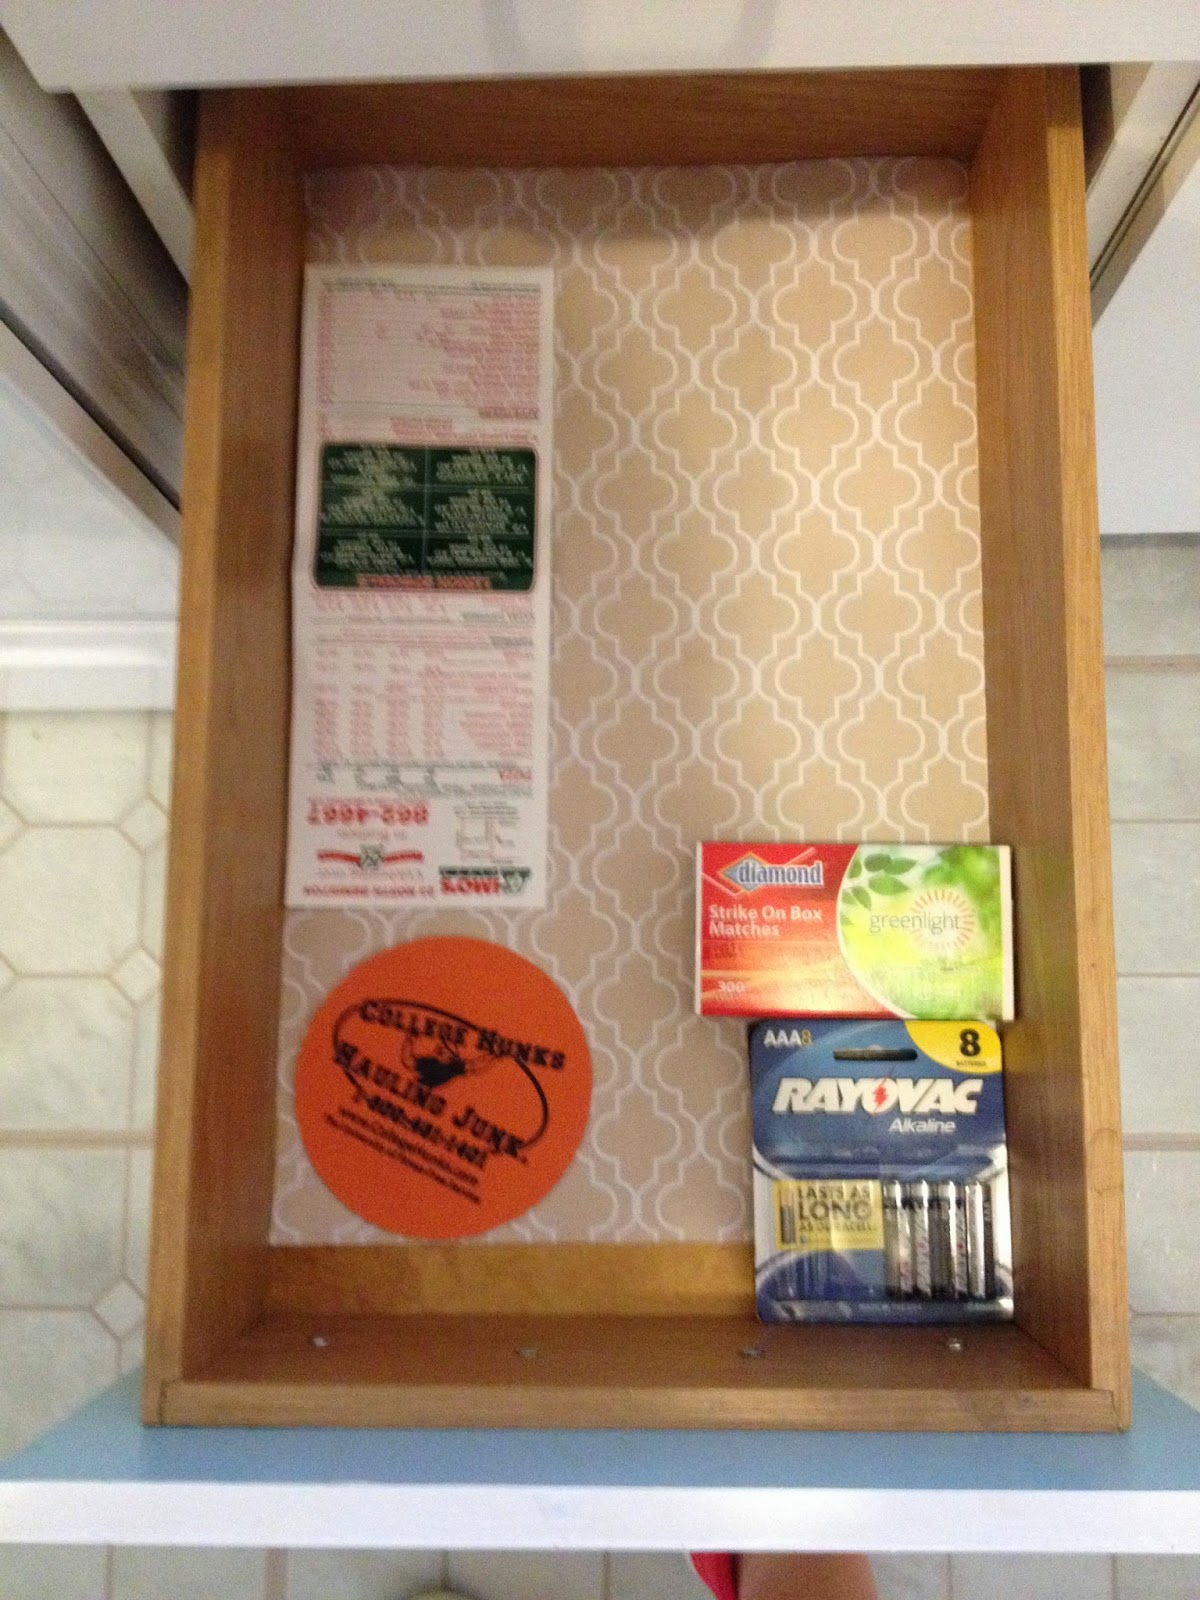
TIP #4: USE SHELF PAPER. A lot of times, especially in super old buildings from the 1920s, drawers and cabinets can get pretty worn and nasty looking. Enter shelf paper, which does not necessarily have to have an adhesive back, and which (apparently) comes in scents...I stuck with good ole non-scented, but regardless, this just gives you a nice clean base upon which to lay your utensils and knives and, you know, batteries and matches and takeout menus.

Okay, so let's dive into my pantry, which, thank JEEBUS, is actually quite large.
TIP #5: PUT THE HEALTHY STUFF ON EYE LEVEL. You may have to enlarge the picture to see, but the eye-level shelf has veggies, soup, and healthy snacks. In my case, that means lots of almonds and kind bars, and a large variety of canned vegetables and Cambell's soups. Yum :)
Along the same lines, I put all the carb-y terrible things on the top shelf. Out of sight, out of mind right? Hah, like I ever forget about macaroni and cheese.
TIP #6: PANTRY DOES NOT HAVE TO BE "FOOD ONLY." That will probably mean something different for everyone. For me, it means that everything that didn't fit in my ant-kitchen goes in here, because I have tons of space. My toaster, which I don't use very often, tupperware, alcohol, and measuring and cooking spoons all live in the pantry. They can even *gasp* share a shelf! I know, I'm a mad man. I am also keeping my tools in here (in the shoe box next to the toaster) because it's just an easy-access spot in my apartment.
That's it for today friends! No real "grand total" here, because it's mostly made up of things you'll already have for your kitchen. Look out for a very exciting back-to-school organization post, which I will likely lump in with my office organization. Does anyone else love back-to-school time as much as I do?? Even as a grad student, I am still getting excited. CAN SOMEONE GET ME TO A STAPLES IMMEDIATELY PLEASE.
Till next time...
No comments:
Post a Comment